Product Overview:
Imported from China, Z Panels are a natural stone cladding system. Available in Yellow Quartzite, Rustic Granite & Black Slate, our Z panels are designed in a Z shaped format which allows one panel to fit seamlessly into the next creating a secure natural stone façade. Z Panels are produced using natural stone pieces on reinforced cement panels. Panels come complete with built in metal clips which can be secured to the wall with a fixing screw. Sold in multi-pack boxes with an average coverage of 0.371m2 each box contains the following panel sizes.
-
2 No 547 x 220 x 40mm
-
1 No 347 x 220 x 40mm
-
1 No 230 x 220 x 40mm
Installation:
Z Panels are easy to install and if you have basic building knowledge and skills you may not even need to enlist the help of a professional stonemason. We recommend reviewing the following guidelines to ensure quick and efficient installation.
Step 1 - Tools Required
You will require the following tools to prepare and install Z Panels.
-
Saw
-
Level
-
Work bench
-
Paddle mixer/ mixing drill
-
Soft Brush
-
Rubber Mallet
-
9" Angle Grinder
-
Notched Trowel
-
Measuring tape
-
Hammer
-
Drill with masonry bit and screws/fixings for using the cladding about 3m (there are metal clips which have to be used when over 3m)
-
Buckets for mixing and clean water
-
Safety glasses and gloves
Step 2 - Surface Preparation
Z panels must be fixed to blockwork using adhesive. Z panels cannot be stuck directly onto painted or gypsum coated surfaces. If this is the case the wall must be grinded back to a concrete block so that it can support the weight of the product.
Step 3 - Clean Surface
Before you can start applying Z panels you must ensure the wall surface is clean and remove any rough debris.
Step 4 - Plan / Measure the Area
After the surface is fully cleaned you will need to measure the area. With your measuring tape calculate the length of the wall by the height of wall. It is important to add 10% to allow for cutting and wastage. When measuring the height, it is important to measure from the top of the wall to the bottom of the wall to ensure you finish with a full-size panel at the top of the wall. This means cutting the first course panel so that its at the desired height. Calculate how many corners are required.
Step 5 - Mark out the first course
Once the first course panel height has been identified you will need to use chalk to mark outline. Cut a wooden lathe to mark out the first course and ensure it is level with a levelling stick. Once level this latte can be nailed into the wall and you are ready to begin.
Step 6 - Hose down the surface
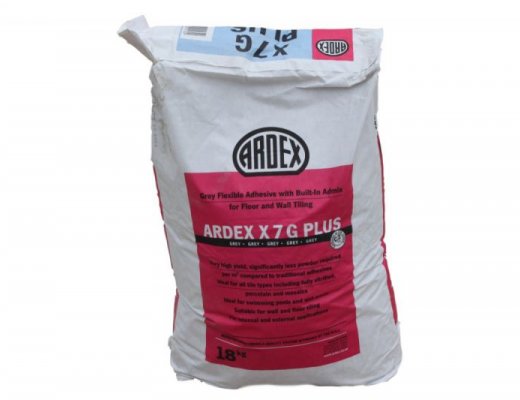
You should hose down the wall with water to wet the surface. You can also mix the adhesive. McMonagle Stone recommends using ARDEX X 7, a versatile multi-purpose tile adhesive for fixing wall and floor tiles. Its advisable to allow 1 no 18kg bag per 3 sq.m of Z panels.
Step 7 - Cut the first course
You must now cut the Z panels to the desired height of the first course.
Step 8 - Start application
Starting with the bottom corners, generously coat the wall with a layer of adhesive, then run the notched trowel through the adhesive to ensure that you have an even coat of adhesive on the wall. Do the same for the back of each stone, this way you will have a coat of adhesive of an even depth across the area you are working on. Take care to keep the face of the stone free of adhesive and use a paintbrush and clean water to wash any adhesive from the face of the stone before it dries or sets. Use the mallet to tap panels securely into the adhesive.
Step 9 - Stagger Joints & Corners
It's good practice to alternate between the different size panels when applying as flats or corners to ensure a high-quality finish.
Step 10 - Metal Clips
When working to heights above 3m you must secure the panel to the wall using a fixing screw on the metal clips located on the top and bottom of each panel.